
Click on the brand name to access and edit various settings including emails, fonts, templates, buttons, and images for your brand.
Additional brand settings
To access and modify additional settings for your brand, simply click on the brand name. By doing so, you'll have the opportunity to edit various aspects such as brand emails, fonts, Google fonts, templates, button, registration form, and image.
To add an email address that can be used for sending emails to prize winners, you can click "Add new email".
Read more how to set up prize winners.
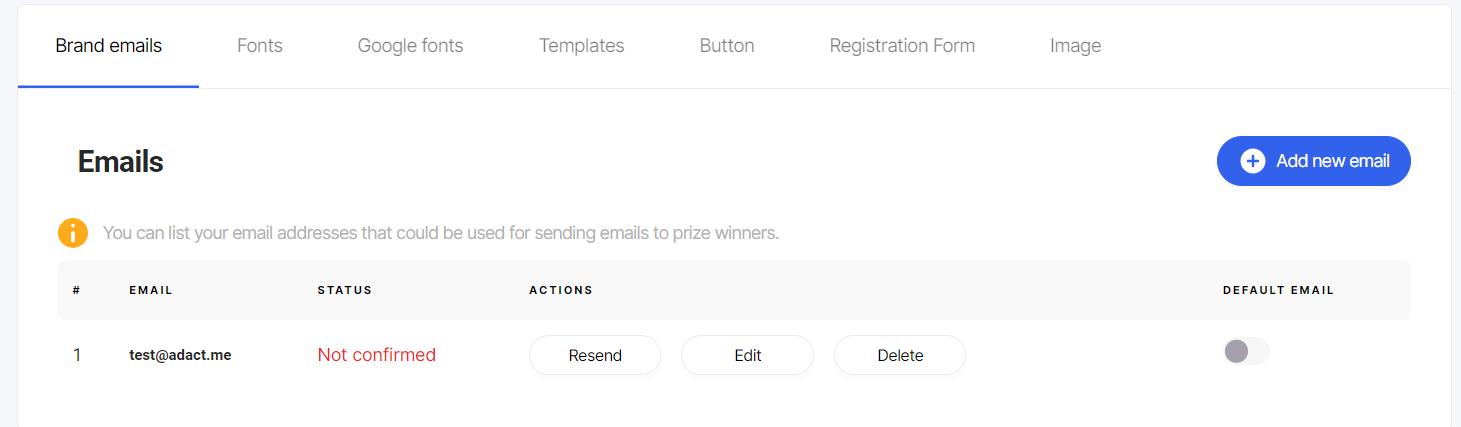
After adding an email address, it will receive a confirmation email. Once confirmed, the status will be "Confirmed". You can set it as the default email for sending all prize winner emails. To edit or delete the email address, click on the "Edit" or "Delete" button.
Fonts
You can upload your custom fonts by simply uploading the font file and assigning it a name.
Google fonts
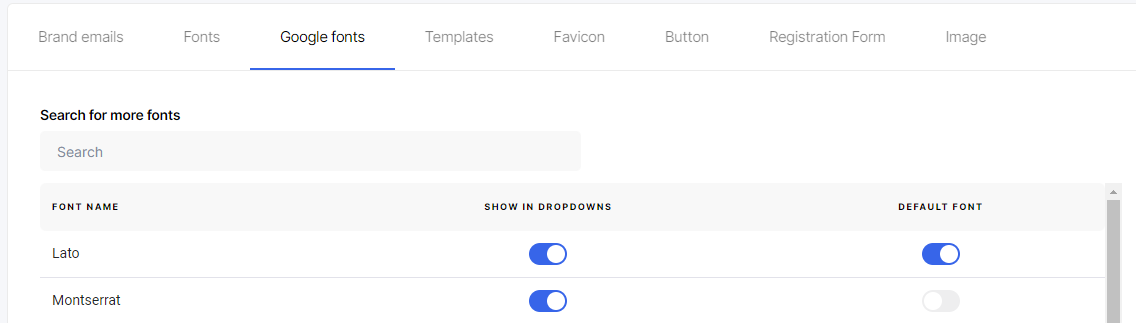
Feel free to enable the Google fonts of your choice for your brand.
Pick a default font to save up your time! When starting a new campaign, the default font will be automatically applied to all text areas, saving you time and effort.
Templates
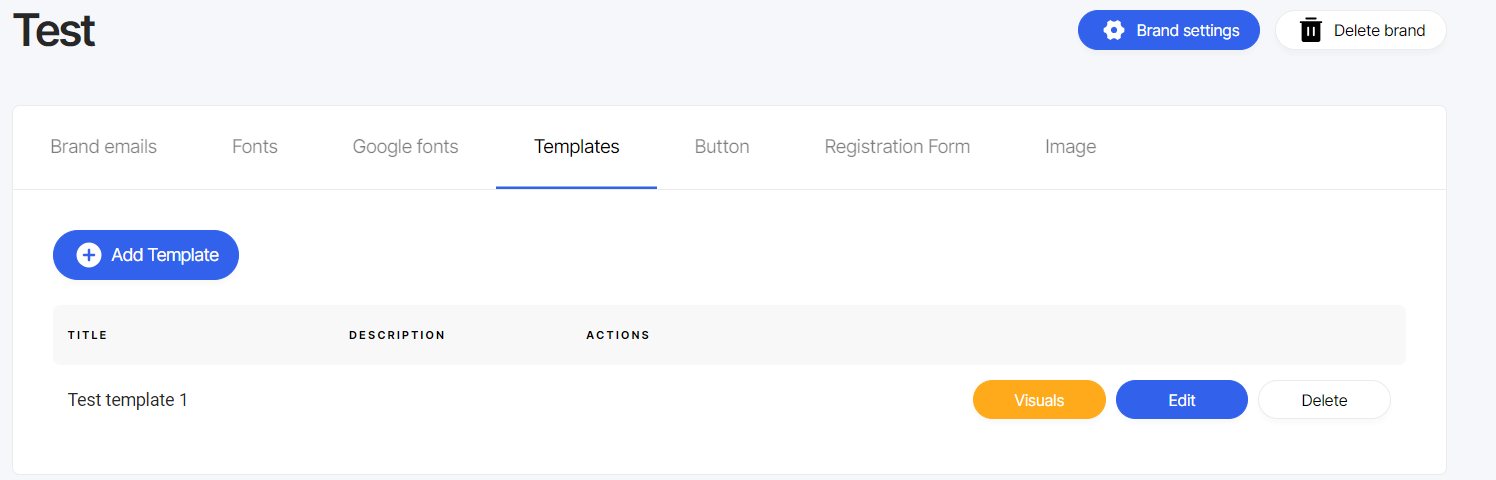
To add a new template, click "Add Template" , then add a name and description. From the drop-down menu, select the campaign you want to create the template from.
You can edit your template's name or description by clicking on "Edit" and to change the visuals click on the button "Visuals".
Read more about how to create new templates here.
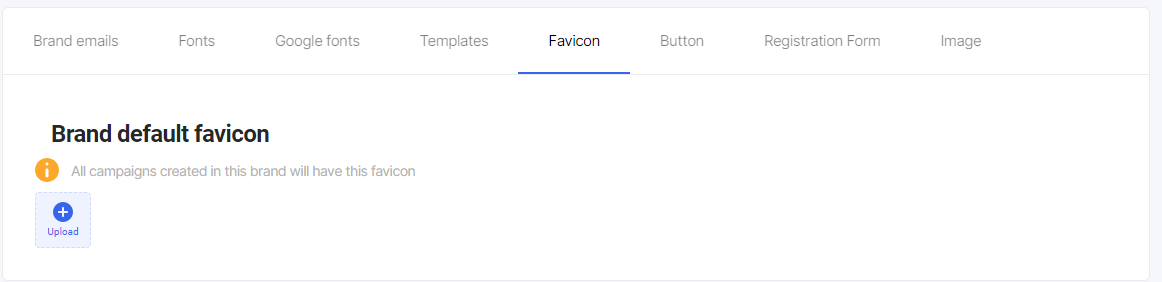
Favicon
Upload your branded favicon. Upon creating a new campaign, this favicon will be added to each campaign automatically.
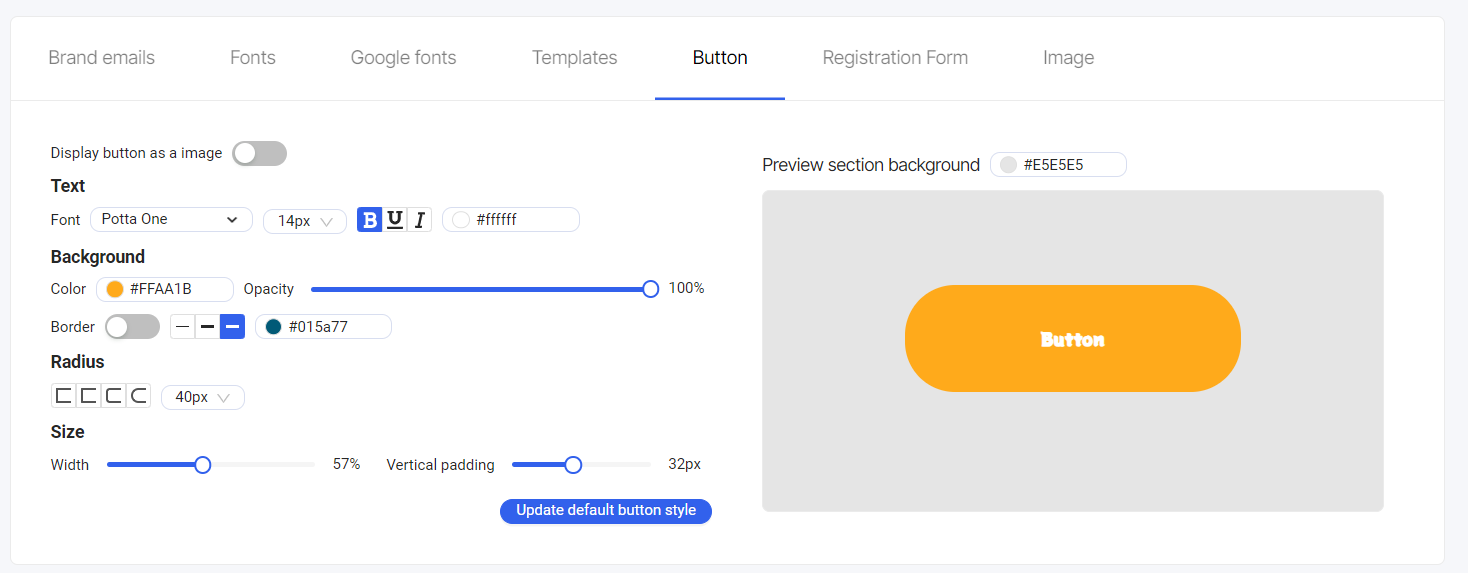
Button
You have the opportunity to design the default campaign button visually appealing way that aligns with your brand. Here are the customization options available:
Font Style, Size, and Color: Choose the font style, size, and color for the button text.
Button Background: Customize the button background by selecting a color and adjusting its opacity. You can also choose to add a border and define its color and size.
Button Shape: Pick the shape of the button by adjusting the radius. You can make it more round or more square, depending on your brand aesthetics. Assign a radius size to achieve the desired effect.
Button Width and Vertical Padding: Modify the button's width and vertical padding to ensure it fits within your overall design.
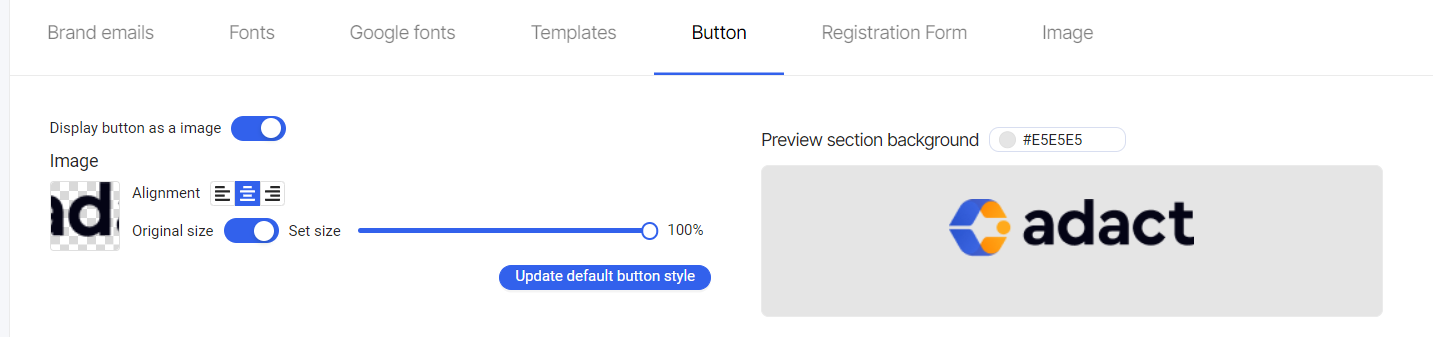
Display button as a image
You can add your own designed button or picture by clicking on "Display button as a image".
Registration Form
You can personalize the style of your registration form to align with your brand's aesthetics and preferences. Here's how you can do it:
Input Fields and Labels: Customize the font, color, and style of your brand's input fields and labels.
Borders: Add borders to your inputs. You can modify the border radius to make them more rounded or more angular, adjust the size, and even select the border color.
Padding Size: Fine-tune the padding size to control the spacing and alignment within the registration form.
Field Sizes: Modify the width and height of the input fields to create a form that is visually balanced and suits your specific design requirements.

Click here to read more about registration form.
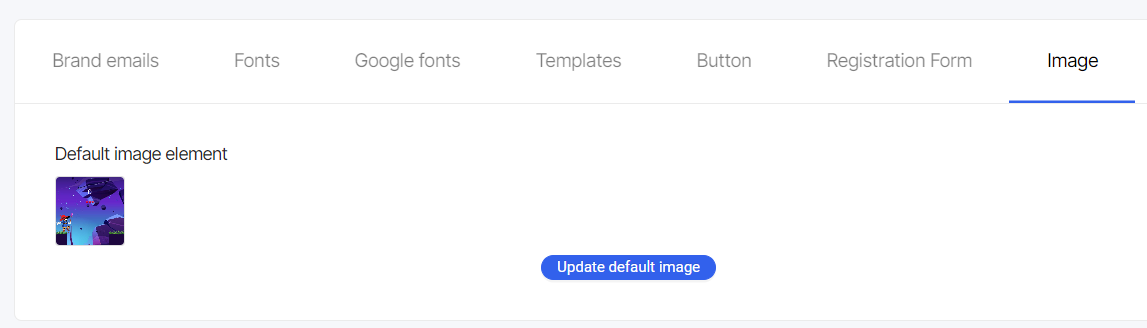
Image
Add or change your brand default image.
How to edit brand timezone and language? How to delete a brand?
You can edit your brand language and timezone, or delete the brand using the two provided options.
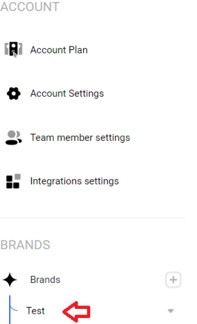
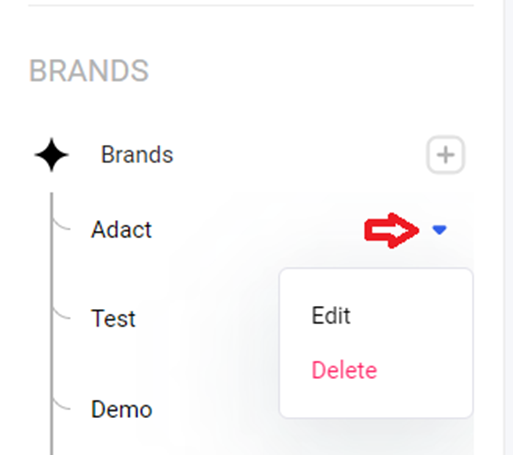
1. To edit a brand, select the brand you'd like to edit and click on the little arrow, then click "Edit". To delete a brand, simply click on the "Delete" button.
2. Alternatively, you can click on the brand name to open up the brand itself, and then click on the "Brand settings" button. To delete the brand, click on the "Delete brand" button.
