
How to add and edit the registration form?
The registration form allows you to collect leads from your campaign. You can set it up on the start, extra, results or end screen to increase the number of collected leads.
Pay attention to editing the registration form. When editing, you need to design form style, fields and button style under different tabs.
By clicking on Mobile view, you can design your campaign for mobile users in addition to PC users. You can design a registration form with different options:

Form Style
Input fields and labels
 You can design your own registration form by editing text style, background and form itself.
Texts
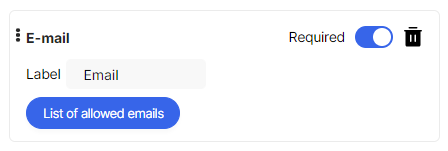
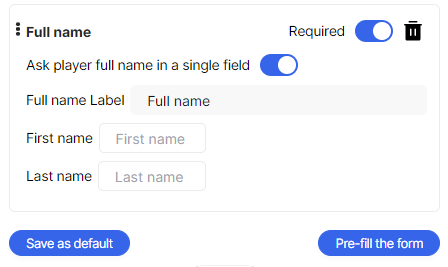
You have the option to use labels or not. To show the labels, simply toggle them on. When enabled, you can customize the color, size, and alignment of the labels.
Design your text using default fonts or import your custom font.
Additionally, you can choose the size, color, and alignment of your placeholder, positioning it either on the left side or in the middle.
Background
Make your leaderboard stand out by adding background colors to the fields. Adjust the field's opacity by dragging the bar left or right.
Form
You can customize your form by adding borders, adjusting the radius, and changing padding, width, height, and more.
Button

You have the opportunity to design the default campaign button visually appealing way that aligns with your brand.
Customize your button by selecting the font style, size, and color for the text, setting the background color, adding a border, adjusting the radius for the shape, and modifying the button's width and vertical padding to fit your design preferences perfectly.
Additionally, you can save all your registration form visuals by clicking "Save as a default." This will replace your brand's default visual settings.
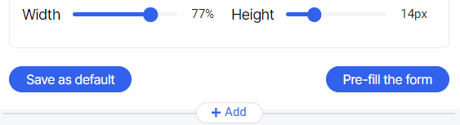
Click here to read how to edit your brand settings.
Or choose to "Pre-fill the form" - it means you can send existing player data from your system to the campaign in a URL, and the registration form will be already pre-filled when the player opens a page.
Fields
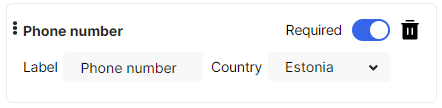
Here you can set up your campaign’s registration form to collect leads. You can choose from 8 different options:

E-mail Field
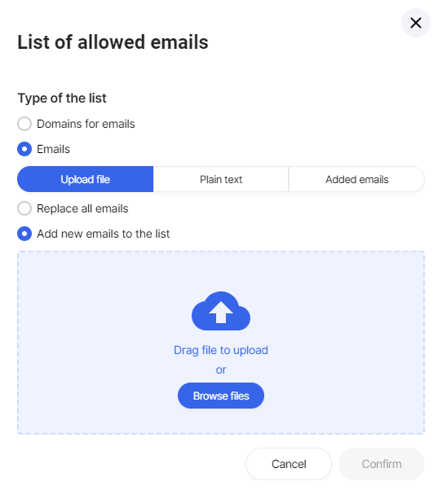
"Replace all emails" - If you want to update the existing list of emails with a new set of email addresses.
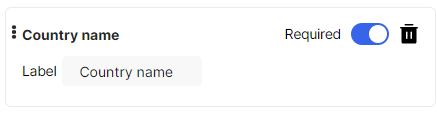
Country Name
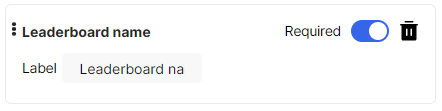
Adding the leaderboard name means you'll show it to all players. Participants can use creative names, making them feel more involved in the campaign.
Click here to read more about how to add a leaderboard to the campaign.
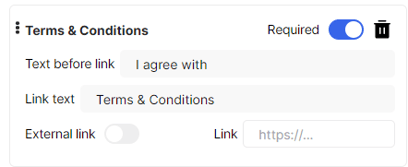
Click here to read how to edit Terms & Conditions.
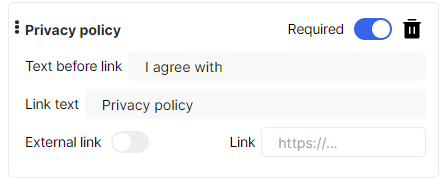
Click here to read how to edit "Privacy policy".
Code
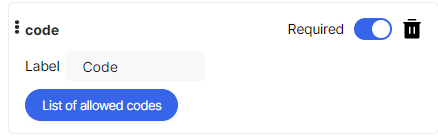
"Replace all codes" - If you want to update the existing list of codes with a new set of codes.
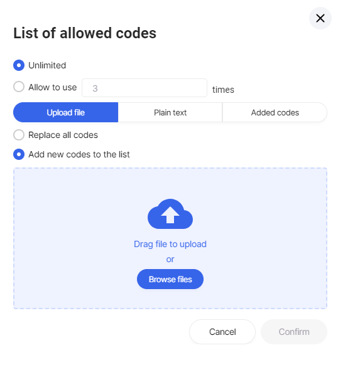
"Add new codes to the list" - If you want to add additional codes to the existing list.
You have two options to input the codes:
1. You can upload a file with all the accepted codes for the campaign.
2. Alternatively, you can copy the codes directly into the "Plain text" field.
You can monitor the used codes and their remaining availability in the "Added codes" field.
The functionality of the checkbox, dropdown list, text or text area
In addition to a variety of already available input fields, you can add your own custom Checkbox, Dropdown list or text area to the registration form. This information will be later displayed in the analytics file. You can edit them just like the field types.

Background
Visuals
- Choose visuals by adding your own branded picture or logo and choose it's layout and position.
- Choose different color to stand out! You can use your brand's color and adjust the opacity to make it perfectly suited to your needs.
Border
- Border - You can display and design a border with different colors and sizes.
Paddings
- Incorporating paddings into your design makes it look better and work better. Choose top, bottom, left and right paddings to make your content easier to see!