Beyond designing the game you can also design the entire landing page, contact forms and messaging that appears before and after playing the game.
TOI{This sections is by far the most function-rich place in Adact. You can truly create any sort of sequence and flow of the campaign as you desire.
In this article I'll explain the basics of how the landing page editor works.
Once the game is ready, the common question is : "Where can my audience play the game?"
The Campaign editor allows you to build the landing page where you can direct people to participate in the campaign.
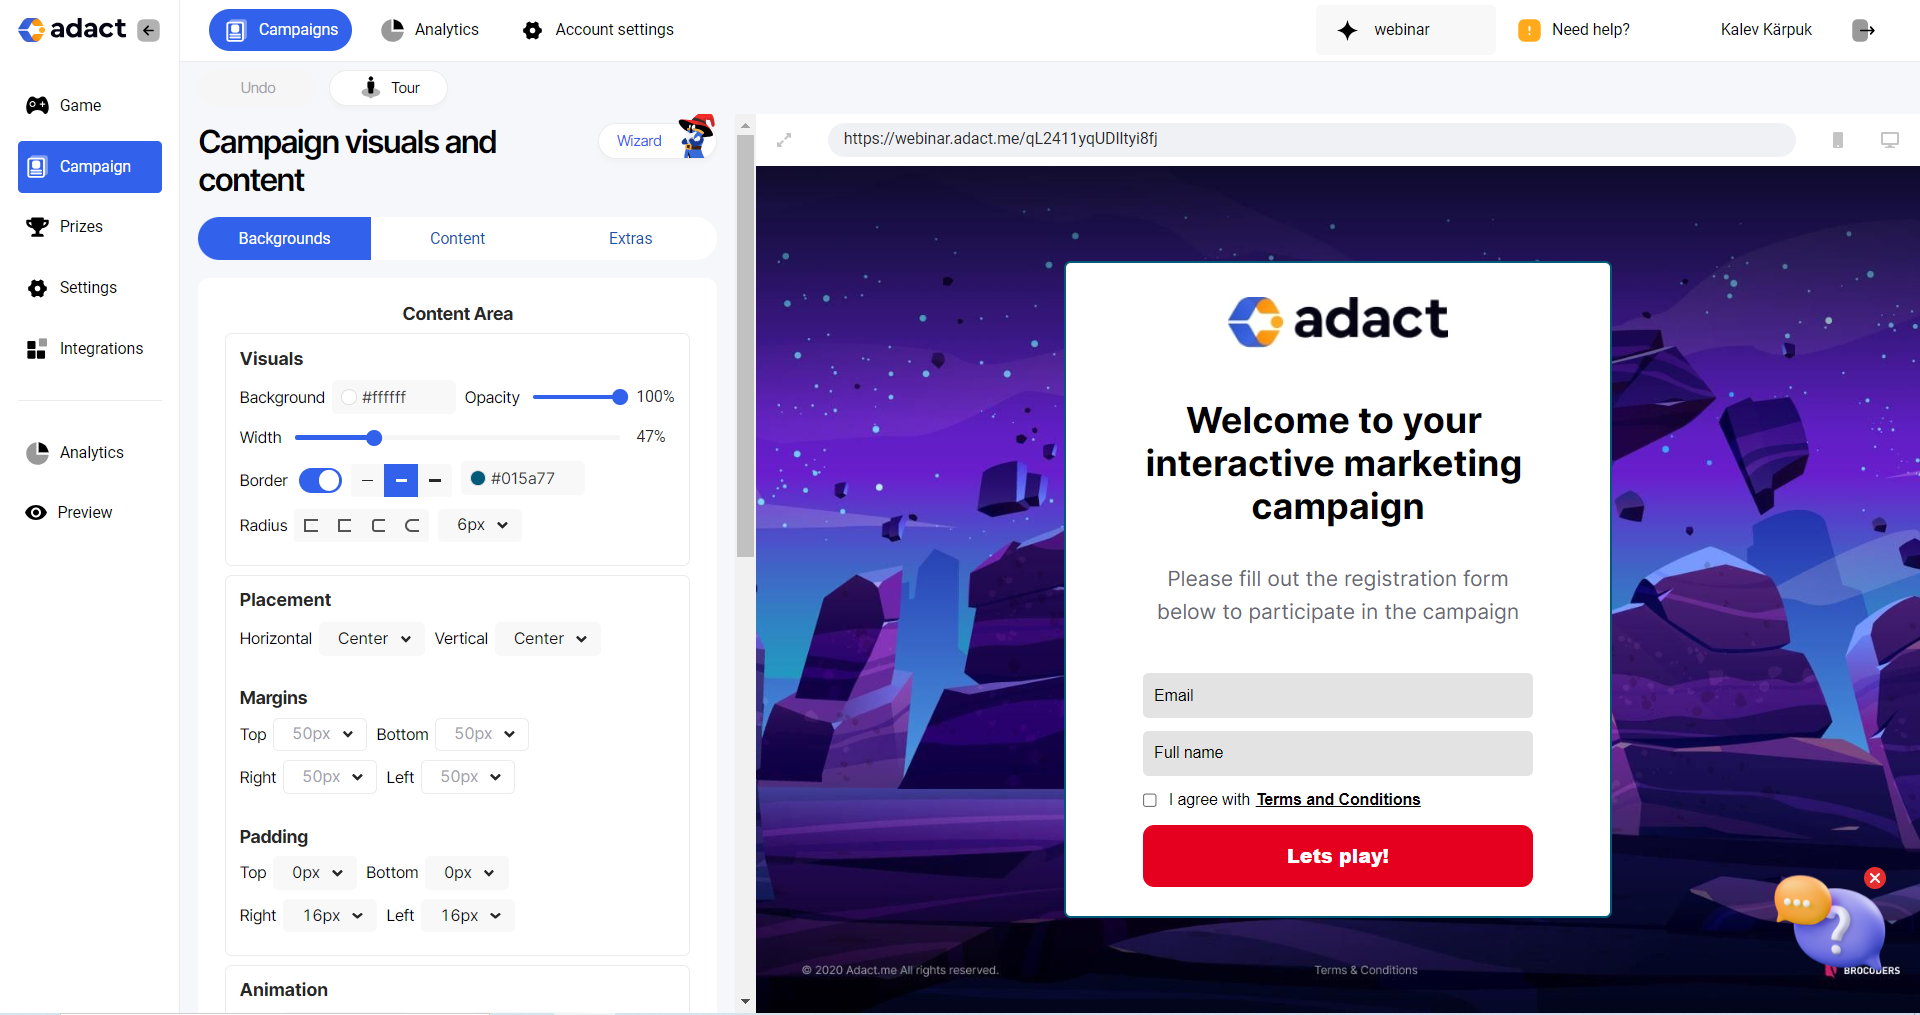
By clicking on the "Campaign" from the left navigation menu, the entire Landing Page Editor view opens up.

Overview of the Campaign builder view
Similarly to the Game editor view on the right side you can see the preview of your landing page and on the left side you have all the options to edit the page.
Tip: To get the most accurate preview, click on the "Preview" button from the bottom of the left navigation menu. The preview in this view is quite small and may not reflect everything perfectly.
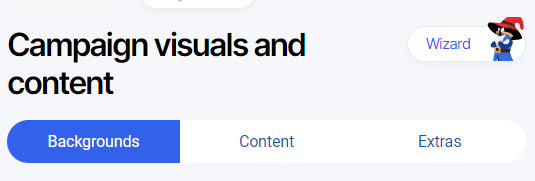
The left side of the editor has 3 tabs: Background, Content, Extras

The "Background" option enables you to edit:
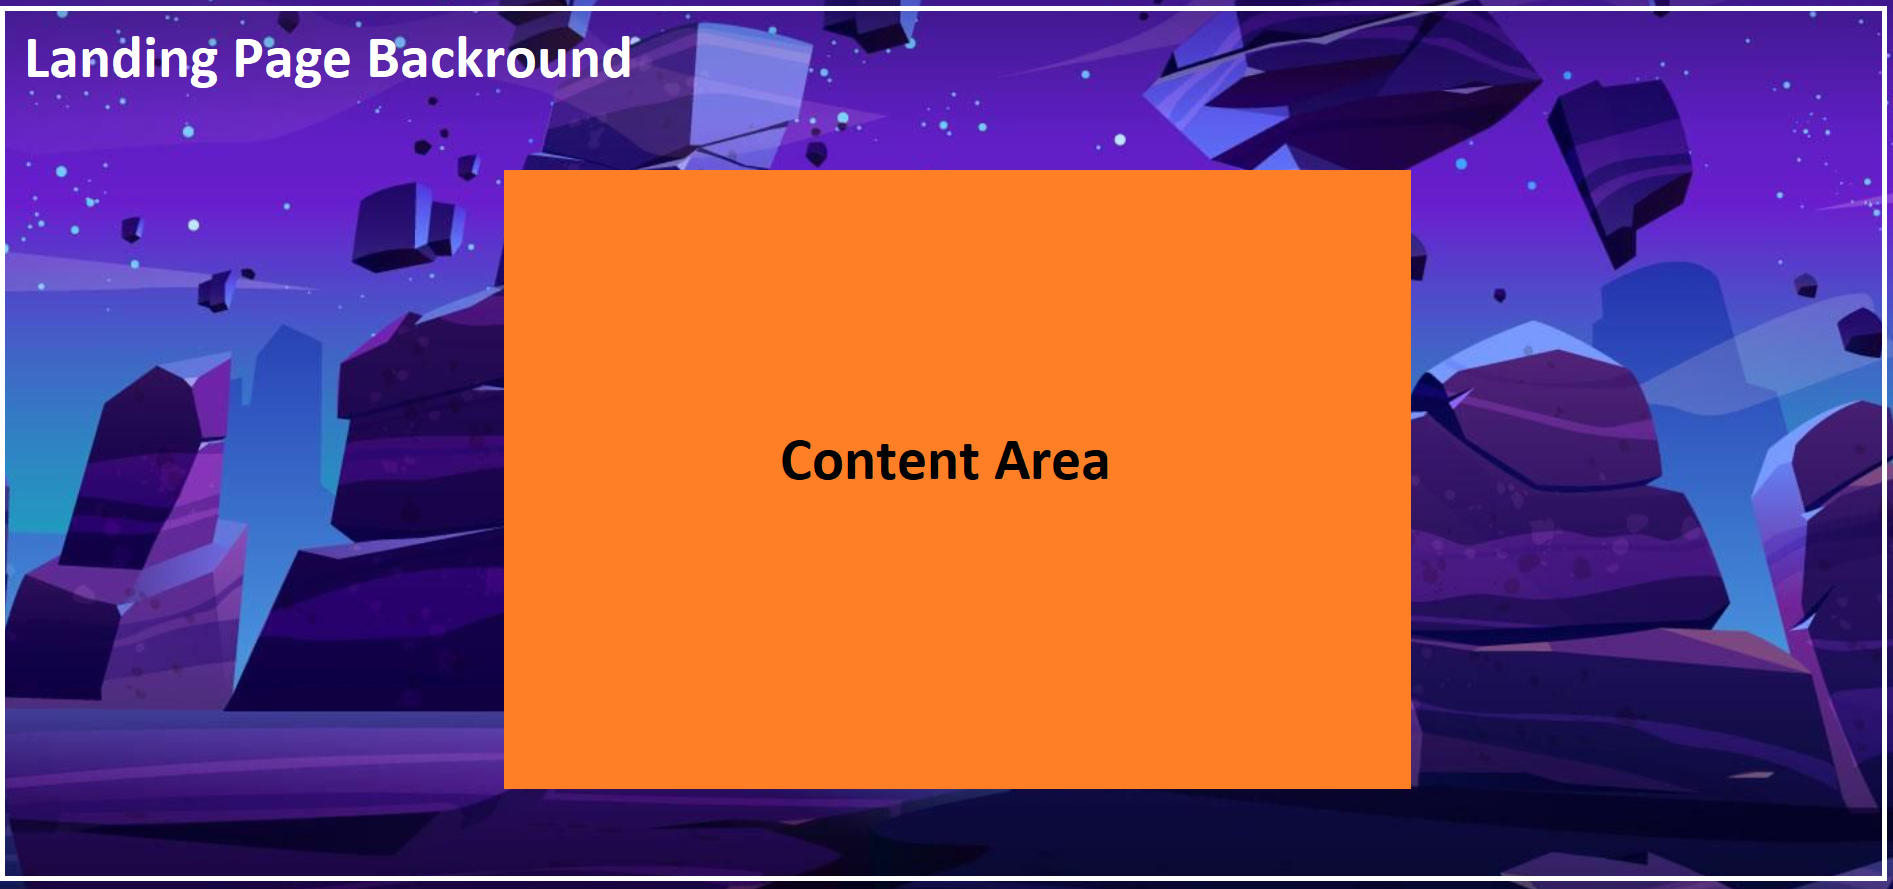
- The background image of your landing page
- The background of your content area

The "Content" option enables you to add elements to your content area such as texts, images, registration forms, videos and more.
The "Extras" enable you to edit various other options such as Terms and Conditions, Leaderboards design, Privacy Policy, Error messages and more.
Add your campaign background
The first obvious thing to do is to change the background of your landing page.
With the "Background" tab open, scroll to the "Background Image", click on the image for "Upload for PC" upload your desired background to the landing page.
-gif.gif)
In the Content Area section, you can edit the width, background color, borders and other parameters for the Content Area design.
Click here for a more detailed guide on how to operate the Background editing tab.
Edit your campaign Elements
-png.png) Your campaign Content Area consists of different elements you can place to your content area.
Your campaign Content Area consists of different elements you can place to your content area.
If you create a default campaign then you will see the setup on the left.
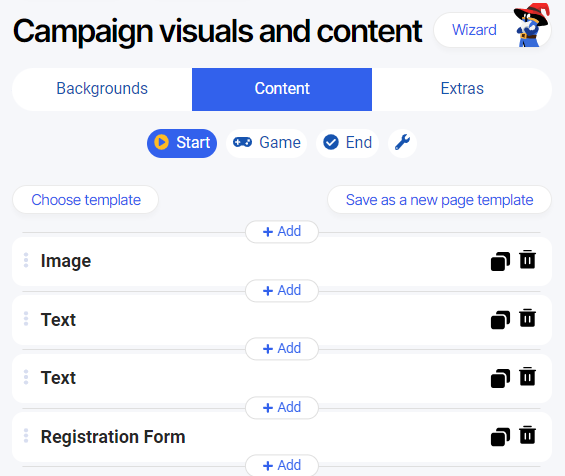
This setup includes
- Image element - The Adact Logo as an image
- Text element - the "Welcome to your interactive marketing campaign" text
- Another Text element - the "Please fill out the registration form below to participate in the campaign" text
- Registration form element - Where it asks for the users e-mail, full name and to agree with Terms and Conditions.'
 If you navigate to the second tab called "Content" then you can see all these elements in order on the left side of the panel.
You can
Delete an element by clicking on the Recycle bin icon on the right side of the element.
Copy an element by clicking on the copy button next to the Recycle bin
Add new elements by clicking on any of the "+add" button.
Reorder elements by dragging and dropping the element to a new location vertically.
Edit an element by either clicking on the element row or by clicking on the element straight from the preview panel.
For example - to edit a text element you would click on the text in the preview panel or click on "Text" element row on the left side and edit the text as if you were editing a word document as seen below:
-gif.gif)
Click here to read a more detailed guide on what are the options for each element.
Next learn how to create the perfect campaign screen flow.
