In the Campaign Background tab you can edit the background for PC and Mobile and also setup the background design for the Content Area where your main texts, logos and registration forms are places
Here's a video to explain everything in 5 minutes:
Content Area settings
These settings change the visuals of the area which holds your texts, logos, registration forms and other elements you wish to include
Visuals: Change the background, opacity, width, border, corner radius and other settings

Placement: Where is the content area placed on the screen. You can either
place it left, center or right horizontally or top, center or bottom vertically.
Margins: How much room is there between the edges of the screen and the content area.
Paddings: Padding is the space between content and the border of an element, enhancing layout and preventing content from touching the edges
Animation: Set the animation style and speed for your content area
If you have Horizontal and Vertical placement set to Center then Margins cannot be set as the content area will always be in the middle.
If you place the content area to the left of the screen horizontally then you can adjust Left margin to set how much room is there between the left side of the screen and the content area
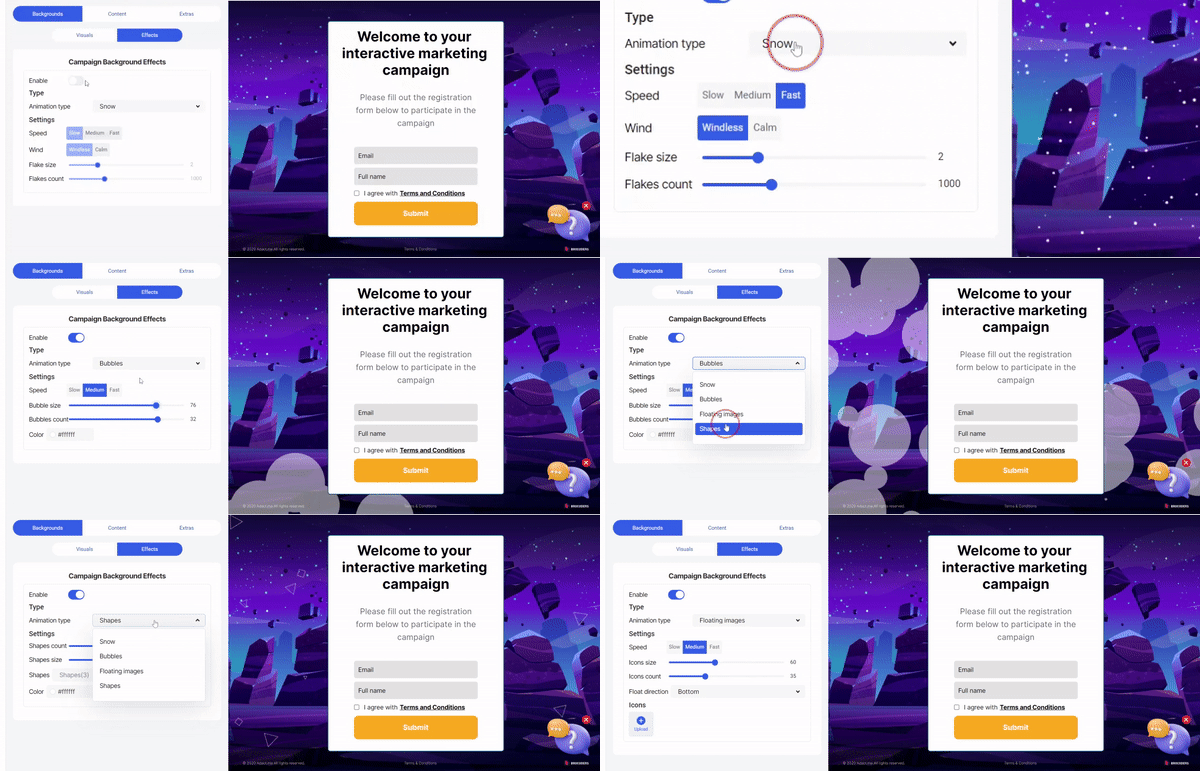
Background effects

Here are some examples of different Content Area setups
Content are moved horizontally to the left

Content area made wider with blue background

Content Area background color removed and placed in the middle

Landing page background
Upload for a PC - Section where you can upload the image that is shown when the campaign is viewed from a PC screen. Suggested size is 1920x1080px
Upload for Mobile - Upload image for mobile which is loaded only when the Mobile screen is shown.
Colour - When no background is added then the chosen colour is shown instead.
Also if your landing page has transparent elements then the background color is shown behind the transparency.
Layout - You may have different requirements for how the background image should appear. Below are the options to change
Cover - When choosing “Cover” then the selected image covers the entire screen regardless of how large the screen is. That means some edges may be cut out for smaller screens.
Anchor point for “Cover” setting - this is where the image is placed on the screen if the image is smaller than the screen
Contain - Contain means the entire image will always be shown and fit to the screen. But if the screen is very narrow for example, the image gets scaled down to show always show the entire image.The excess area is covered by the background color.
Anchor Point for “Contain” setting This shows what part of the image is always shown and never cut off.
Colour for “Layout” Contain” - When the Background is smaller than the screen then the rest of the background will be filled with the chosen colour.
Campaign Snow
To give your campaign a Christmasy touch, you can add campaign snow. There are four different elements to customize the falling snowflakes:
You have the freedom to adjust the settings to control the speed and intensity of the snowfall based on your preferences.
