
Looking to add more brands? Find out how to do it by clicking here.
How to add a new brand?
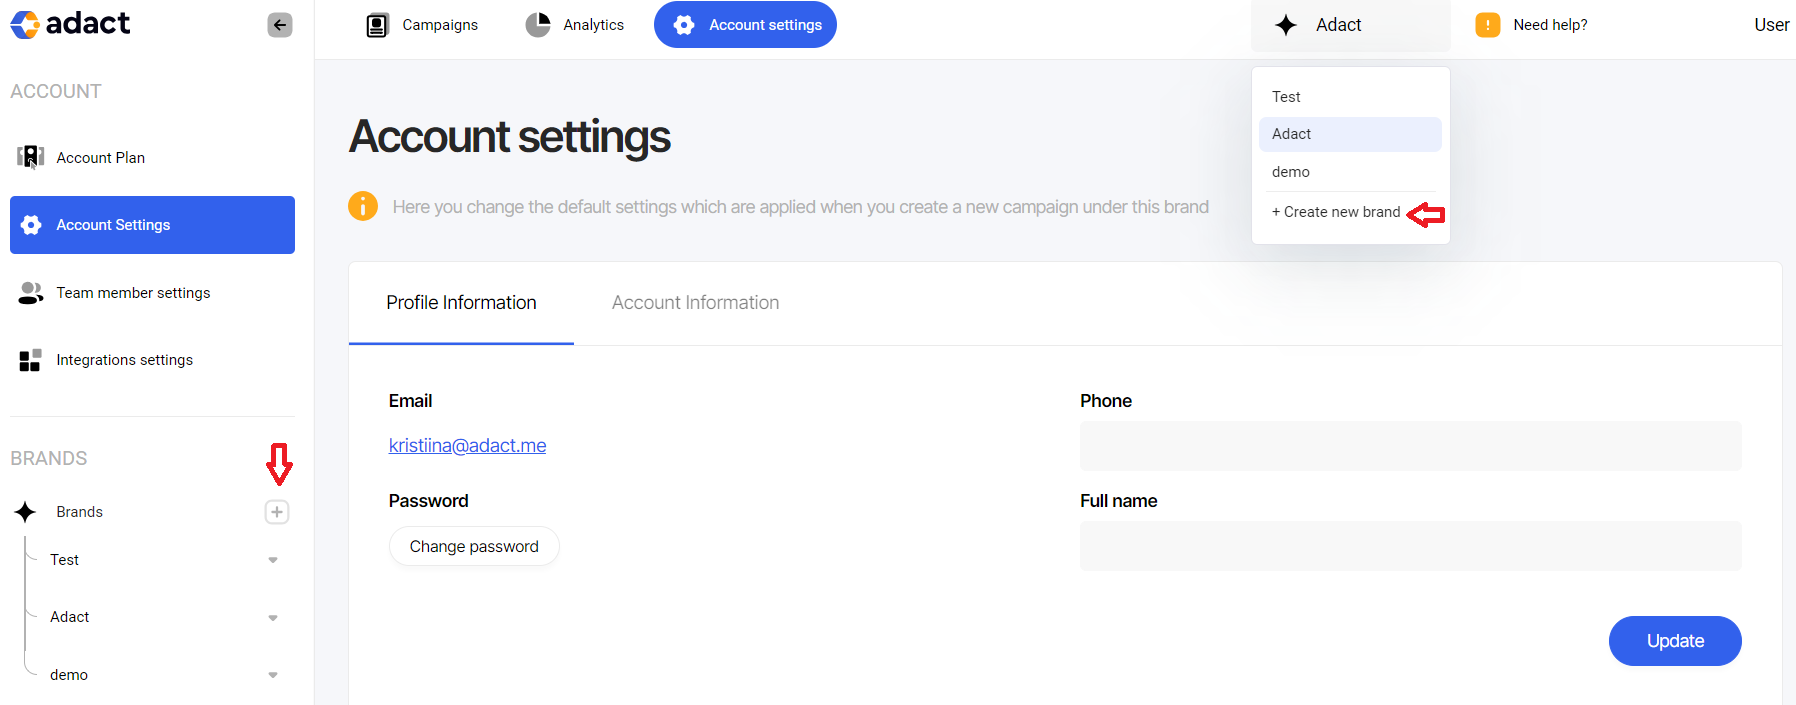
To add new a brand you have to be an account owner. To begin the process, simply click on one of the red arrows.
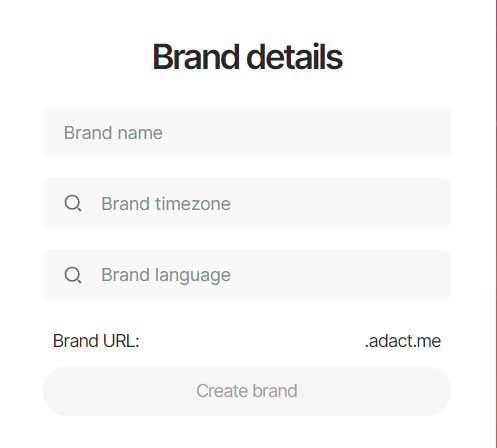
Add a brand name, timezone, language and click "Create brand".
How to set up brand visuals?
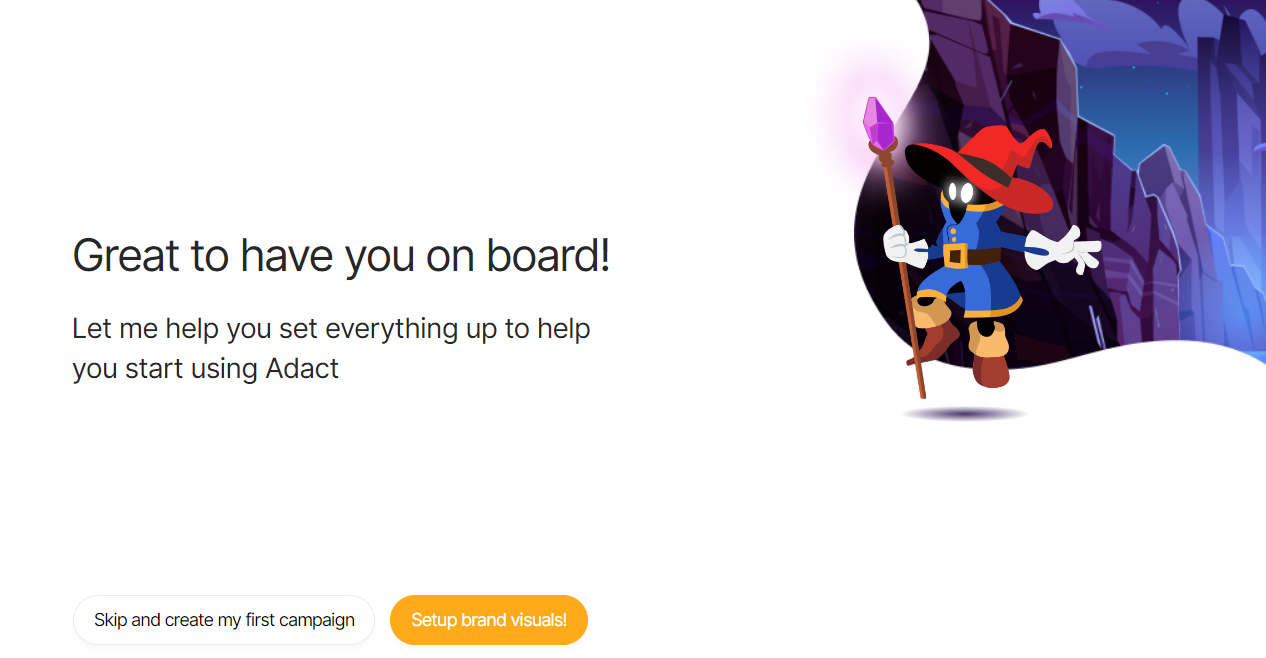
You can skip and create the first campaign right away or you can set up brand visuals right away.
Fonts
Feel free to enable the Google fonts of your choice for your brand. You have the flexibility to make changes to them whenever you like. Additionally, you can upload your custom fonts by simply uploading the font file and assigning it a name.

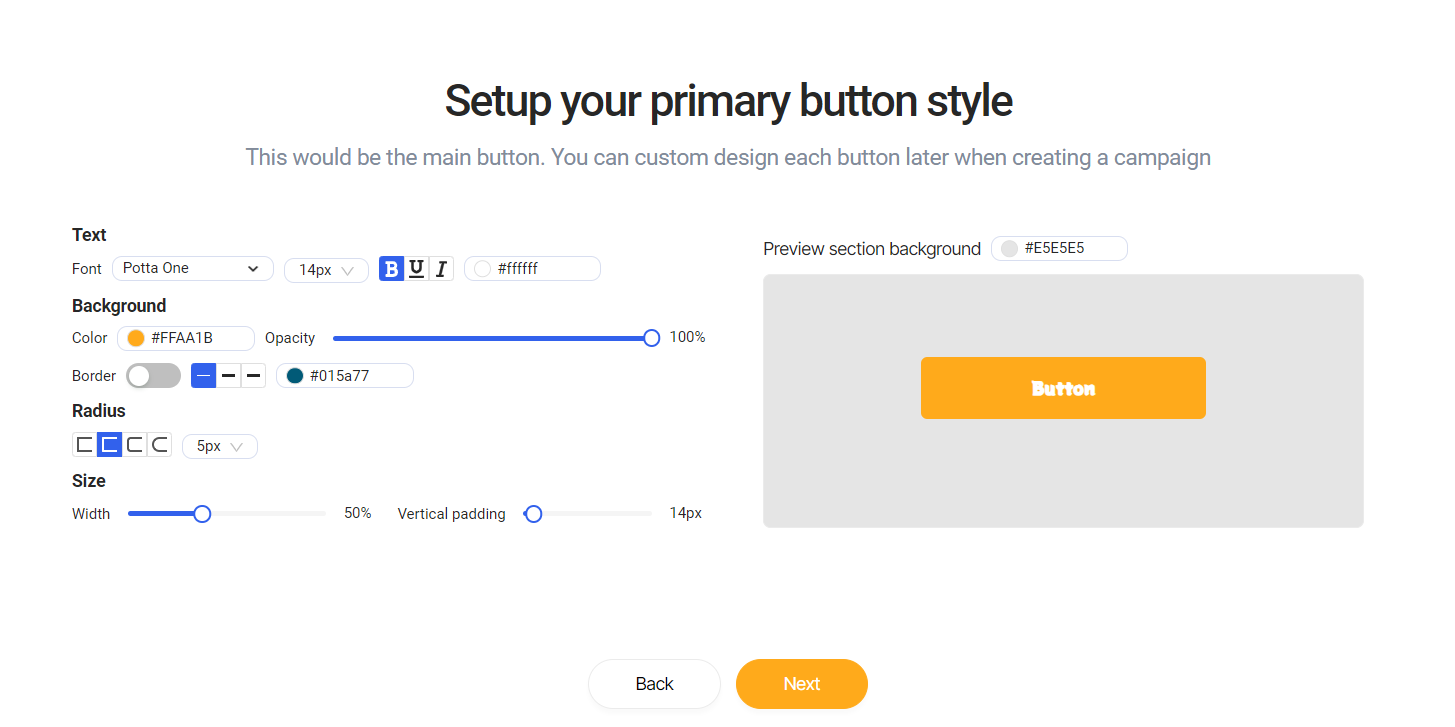
Primary button style
You have the opportunity to design the default campaign button visually appealing way that aligns with your brand. Here are the customization options available:
Font Style, Size, and Color: Choose the font style, size, and color for the button text.
Button Background: Customize the button background by selecting a color and adjusting its opacity. You can also choose to add a border and define its color and size.
Button Shape: Pick the shape of the button by adjusting the radius. You can make it more round or more square, depending on your brand aesthetics. Assign a radius size to achieve the desired effect.
Button Width and Vertical Padding: Modify the button's width and vertical padding to ensure it fits within your overall design.
Registration form style
You can personalize the style of your registration form to align with your brand's aesthetics and preferences. Here's how you can do it:
Input Fields and Labels: Customize the font, color, and style of your brand's input fields and labels.
Borders: Add borders to your inputs. You can modify the border radius to make them more rounded or more angular, adjust the size, and even select the border color.
Padding Size: Fine-tune the padding size to control the spacing and alignment within the registration form.
Field Sizes: Modify the width and height of the input fields to create a form that is visually balanced and suits your specific design requirements.

Last step
Complete the setup of your brand visuals by uploading your brand logo.
 If you want to learn how to modify your brand's timezone, language, or additional settings, or how to delete your brand, you can read more about it here.