CNAME allows you to link your campaigns with your domain by generating a certificate and adding records to your domain management system.
CNAME enables you to connect your campaigns with your own domain.
To get started you need to generate a certificate and add the records to your domain management system.
If your website is "www.bestbrand.com" then you can create a custom prefix e.g. "campaign.bestbrand.com" and show the campaign there.
You can connect your campaign placed on Adact to your domain and have a campaign shown on your custom domain.
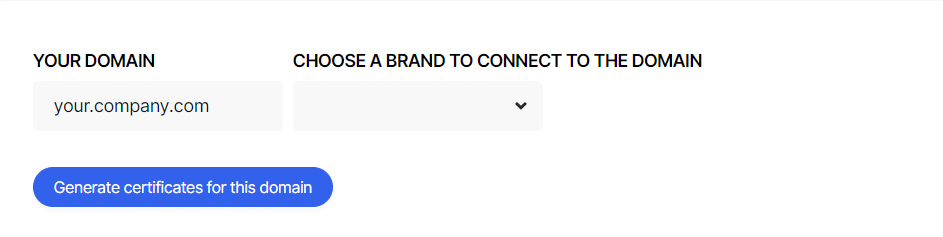
Step 1: Let us know about a domain or subdomain you created and want to connect with.
Add a domain or subdomain which you want to use.
 Step 2: Add required records after generated certificates.
We will generate certificates for your sub domain once you press on “Generate certificates for this domain”. Please add required records in you domain management system. Generated certificates will be active within 72 hour, please try to add required record before this period ends. In other case it will be required to start generation from the beginning.

To add a CNAME record, you need to access your domain's DNS (Domain Name System) settings, which are typically managed by your domain registrar or hosting provider. Here is a general process for adding a CNAME record:
-
Go to your domain registrar's website and log in to your account.
-
Find the DNS management page: Look for a menu or link that says "DNS," "Domain Management," "Name Server Management," or something similar.
-
Locate the CNAME record: Find the section for CNAME records and click on it, or look for a button that says "Add CNAME Record."
-
In the form provided, enter the following information:
-
Alias or hostname: This is the subdomain you want to associate with the CNAME record. For example, if you want to use "www" as your subdomain, you would enter "www" here.
-
Points to or Destination: This is the URL or address that the subdomain should resolve to. This can be a fully-qualified domain name (FQDN) or an IP address.
-
-
Save the record: After you've entered all the information, click the "Save" or "Add Record" button to create the CNAME record.
-
Wait for propagation: After adding the CNAME record, it may take some time for the changes to take effect. This is known as propagation, and it can take anywhere from a few minutes to 24 hours.
Note: The exact steps for adding a CNAME record may vary depending on your domain registrar or hosting provider, so you may want to refer to their specific documentation if you need further assistance.
Step 3: Start using your campaign
Once the certificate will be validated you can check campaign which you planned to use on your domain.
URL to the campaign will then looks like this first.company.com/campaign_slug.
You can get link to any campaign from the brand

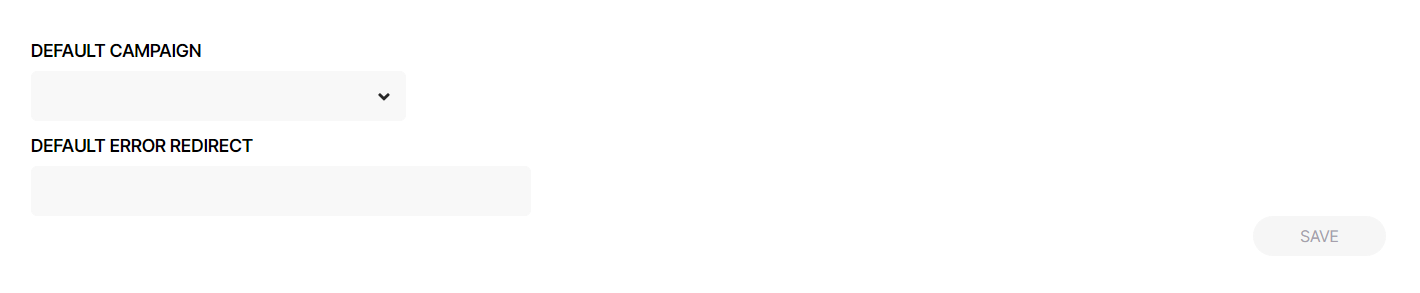
Additional settings
You can define a few extra values to help us understand what you want to show your users when something goes wrong with the initial shared URL to the campaign.
By default, if there are no added values to the Default campaign and Default Error redirect, and some error happens with your campaign URL, then we will show our usual page 404.
If the Default campaign is set, this campaign will be shown instead of a broken link. (Note that you can only use a campaign from the same connected brand.)
But you can also set in the field Default Error redirect what to show instead of our page 404. (it can be your company landing page, page 404. or any other.)
You can get link to any campaign from the brand